Technologies used in this project


Introduction
Building a personal lab has become an essential step for IT professionals seeking to deepen their understanding of cutting-edge technologies and prepare for certifications. For this project, I chose to explore Nutanix, a leader in hyperconverged infrastructure (HCI), by creating a three-node cluster lab. This setup replicates real-world environments, providing hands-on experience with a robust platform designed for scalable and simplified data center operations.
The decision to focus on Nutanix stems from its growing presence in enterprise environments and its reputation as a strong alternative to VMware. With an intuitive interface, integrated hypervisor (AHV), and strong support for hybrid and multi-cloud infrastructures, Nutanix is an excellent choice for mastering HCI concepts and preparing for certifications.
The goal of this article is to share the journey of building a Nutanix lab: from choosing the right hardware to installing the software, configuring a cluster, and creating a virtual machine.
Why Nutanix?
Future Career Relevance
In the rapidly evolving world of IT infrastructure, hyperconverged solutions are becoming the go-to choice for modern data centers. Among the key players, Nutanix stands out as a game-changer. With many organizations transitioning to hyperconverged infrastructure (HCI) to simplify operations and enhance scalability, Nutanix has positioned itself as a leader in this space.
For professionals like myself, learning Nutanix offers significant career advantages. Its increasing adoption in enterprise environments makes it a sought-after skill. Additionally, many IT roles now require expertise in both on-premises and hybrid cloud solutions—two areas where Nutanix excels.
Compared to VMware, Nutanix presents a compelling alternative. While VMware remains a dominant force, Nutanix offers advantages like reduced licensing costs, simplified management through Prism, and a native hypervisor (AHV) that eliminates dependency on third-party solutions. This makes Nutanix a cost-effective and efficient solution for businesses and an excellent choice for IT professionals looking to future-proof their skillset.
What is Nutanix?
Nutanix was founded with a mission to revolutionize traditional data center architecture. At its core, Nutanix combines compute, storage, and networking into a single, software-defined solution. This is the essence of hyperconverged infrastructure (HCI)—replacing the complexity of traditional three-tier architecture with a streamlined, scalable, and resilient system.
Key features of Nutanix include:
- Ease of Use: The intuitive Prism interface simplifies infrastructure management, allowing administrators to monitor, deploy, and scale resources with just a few clicks.
- Resilience and Scalability: Nutanix Distributed Storage Fabric (DSF) ensures high availability and performance by replicating data across nodes.
- Integrated Hypervisor: The Nutanix Acropolis Hypervisor (AHV) is built-in, removing the need for additional licensing while providing seamless integration with the platform.
- Multi-Cloud Support: Nutanix bridges the gap between on-premises and cloud infrastructure, making it ideal for hybrid and multi-cloud strategies.
These features make Nutanix a powerful platform for modern IT environments, offering the flexibility and efficiency that organizations demand. For someone like me, who is preparing for certifications and aiming to expand expertise in cloud and virtualization technologies, Nutanix provides a practical and highly relevant technology to explore.
By choosing Nutanix for my lab, I am not only learning how to operate and manage a leading HCI solution but also gaining hands-on experience that aligns with the demands of today’s IT landscape. Whether you’re a beginner or an experienced IT professional, Nutanix offers opportunities to enhance your skills and stay competitive in the field.
In the next section, I’ll guide you through selecting the right hardware to build your Nutanix lab.
Choosing the Right Hardware
Cluster Design and requierments
For this lab, I opted for a three-node Nutanix cluster to explore advanced features and ensure high availability. Each node integrates compute, storage, and networking, replicating the design of a production-ready hyperconverged environment. This setup provides a solid foundation for experimentation, learning, and certification preparation.
Each node in the cluster requires:
- Three storage devices:
- 1 NVMe SSD for the Distributed Storage Fabric (DSF) cache.
- 1 SATA SSD for data storage.
- 1 USB drive (64 GB) for the hypervisor installation.
- High-performance hardware:
- 16 Go RAM minimum
- 4 cores / 8 Threads minimum
My hardware choice
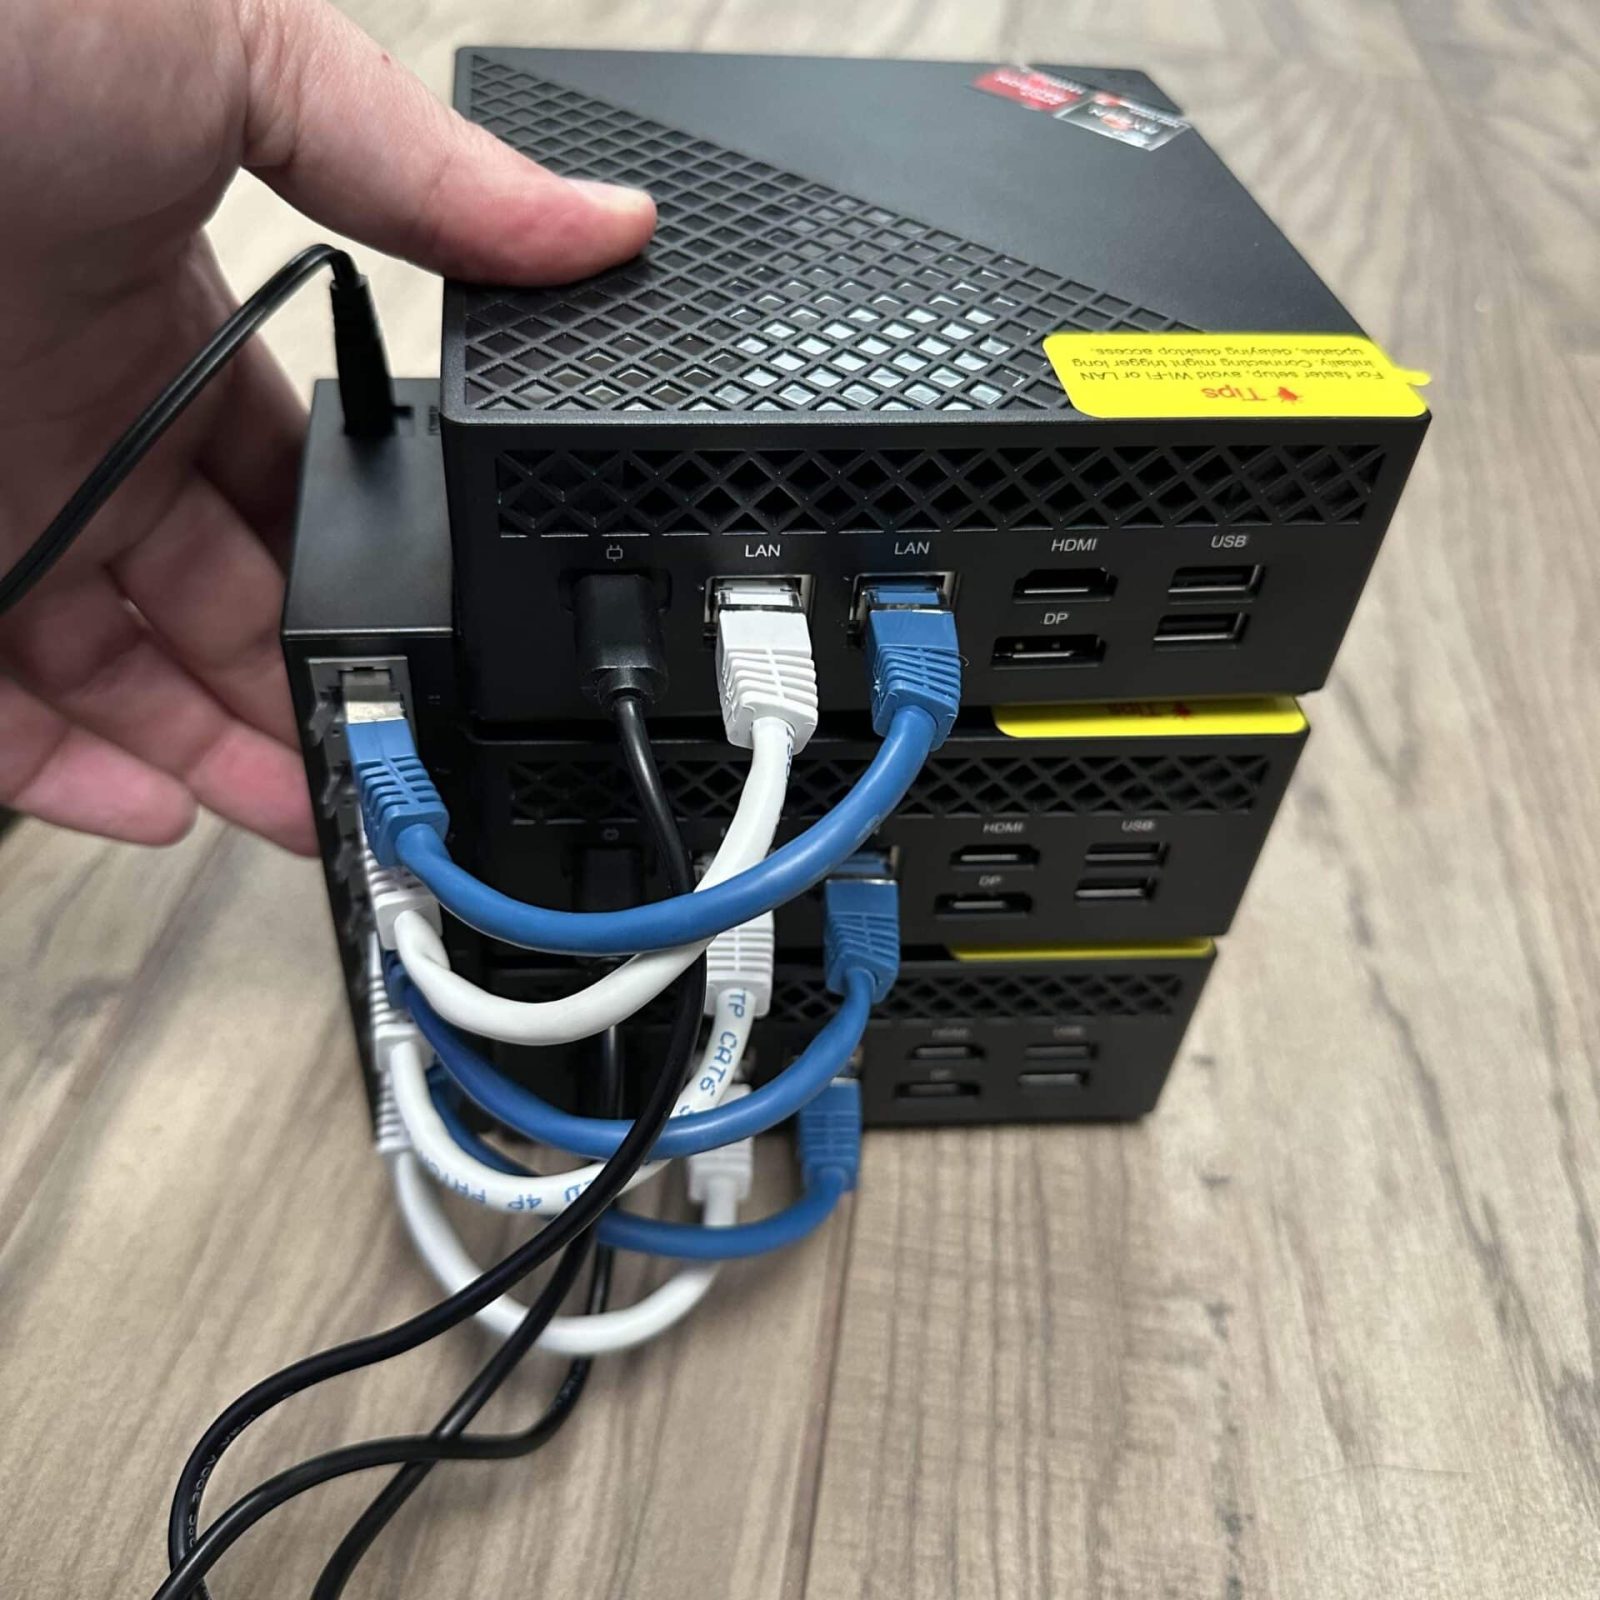
- Processor: AMD Ryzen 7 5700U (8 cores, 16 threads, up to 4.4 GHz).
- Memory: 32 GB DDR4 RAM.
- Storage:
- 1 NVMe SSD (512 GB, included).
- Support for an additional SATA SSD (user-installed).
- USB-C ports for flexible power options.
- Networking:
- Dual Ethernet ports (1 Gbps and 2.5 Gbps).
- Other Features:
- Compact size, making it ideal for home labs.
- Low noise and power consumption.
- Small Form Factor: These mini PCs take up minimal space, allowing for a tidy lab environment.
- Energy Efficiency: With low power consumption, this setup is cost-effective for extended usage.
- Low Noise: The hardware is quiet, suitable for a home office or shared space.
- Expandability: The ability to use both NVMe and SATA SSDs ensures excellent performance and scalability.
- Future-Proofing: Dual Ethernet ports, including 2.5 Gbps support, prepare the cluster for future network upgrades.


Custom Enclosure: Design and 3D Printing
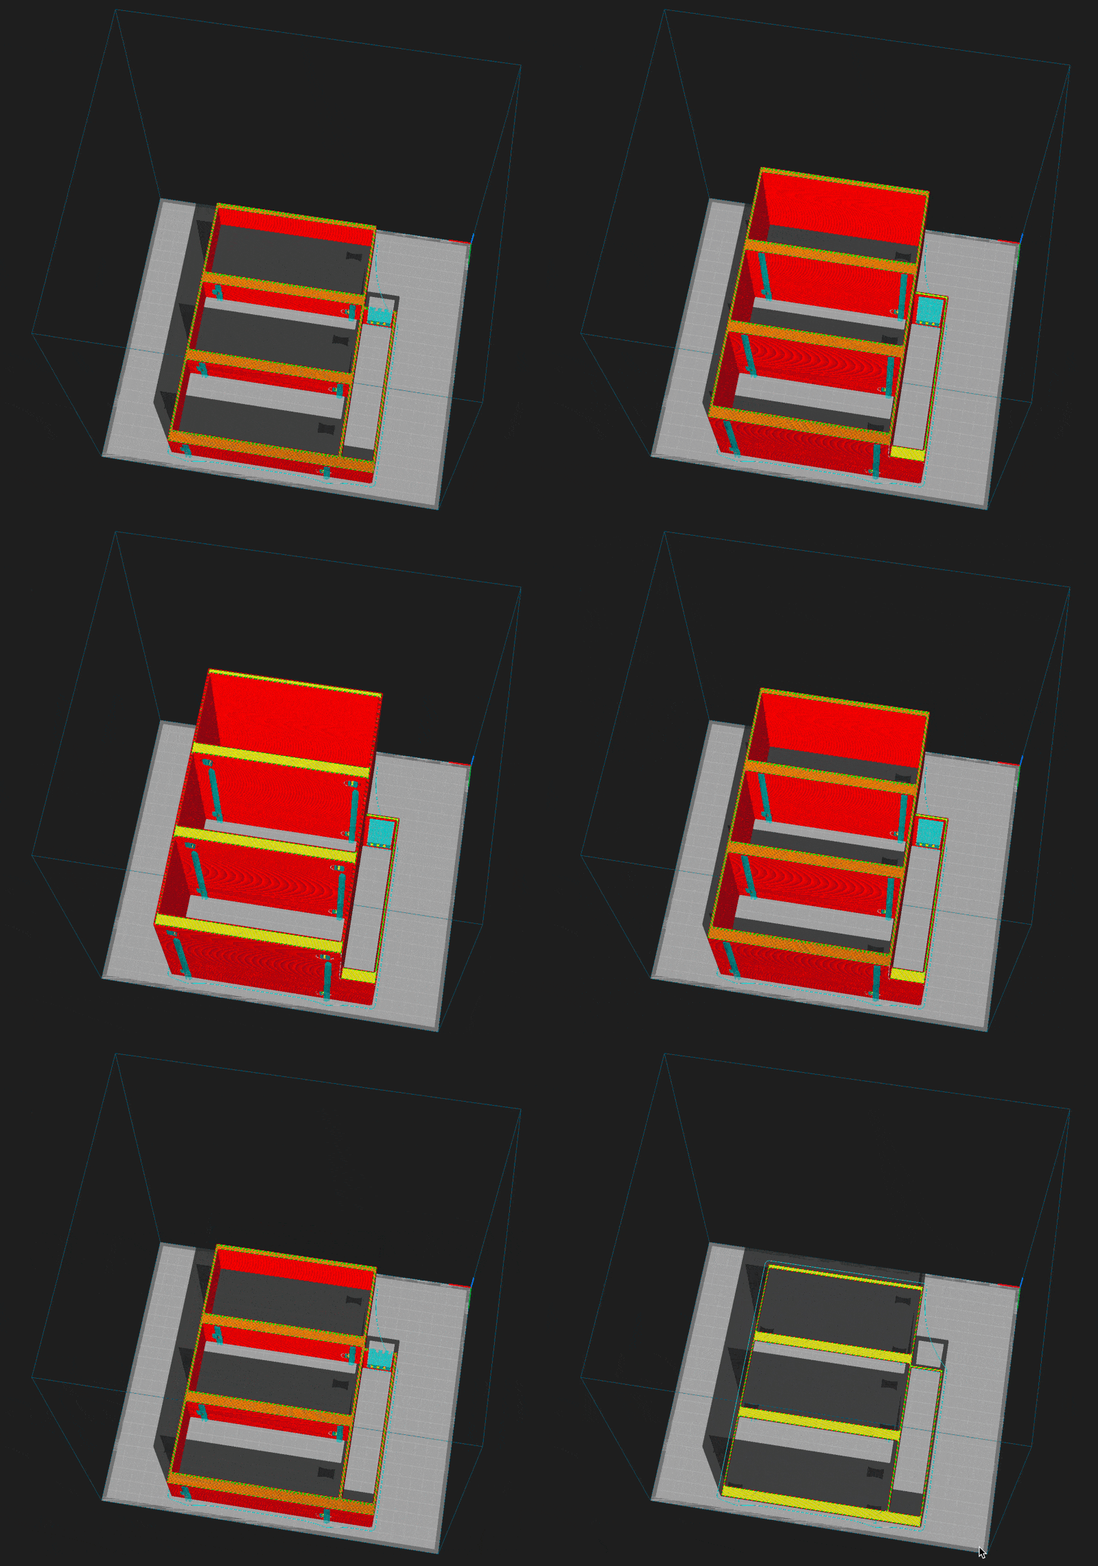
To keep the setup compact and visually appealing, I designed a custom 3-node cluster enclosure using Fusion 360 and printed it with a 3D printer. Here’s the process:
Modeling in Fusion 360:
- The design accommodates three ACEMAGICIAN AM06PRO Mini PCs stacked vertically.
- Ventilation holes are included for cooling, ensuring airflow for all nodes.
Printing the Enclosure:
- The model was printed in PLA for durability and ease of use.
- Printing time: approximately 35 hours in total, depending on the 3D printer used.
Assembly:
- The PCs fit snugly into the enclosure.
- I added labels for easy identification of nodes and ports.
This enclosure not only organizes the hardware but also creates a professional appearance for the lab. It’s a satisfying addition for anyone who enjoys DIY projects alongside IT experimentation.

